This beetle is made with a 1×2 sheet of paper that is 15×7.5 cm.
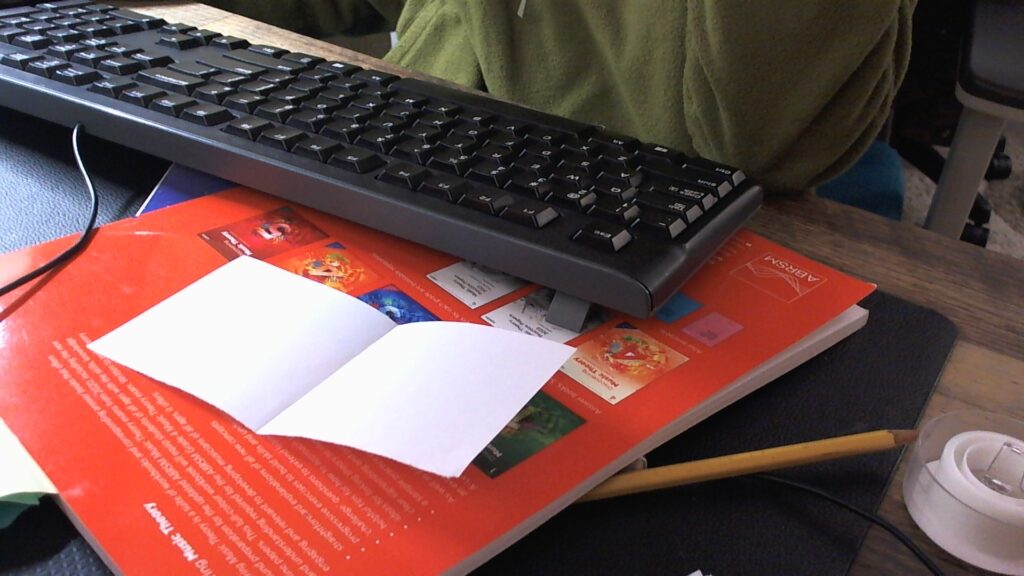
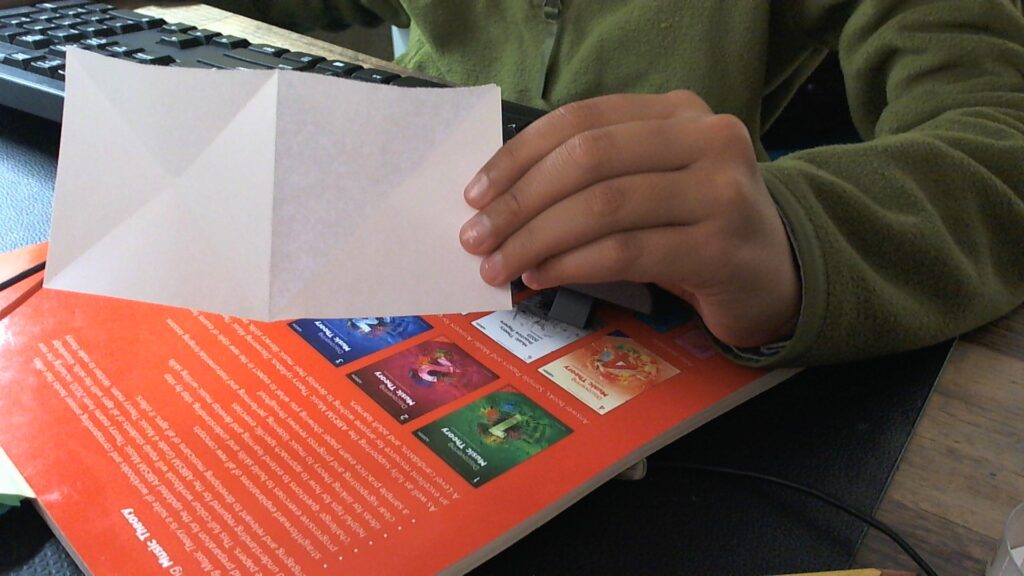
Fold your paper in half, then unfold. It should look a little bit like an open book.
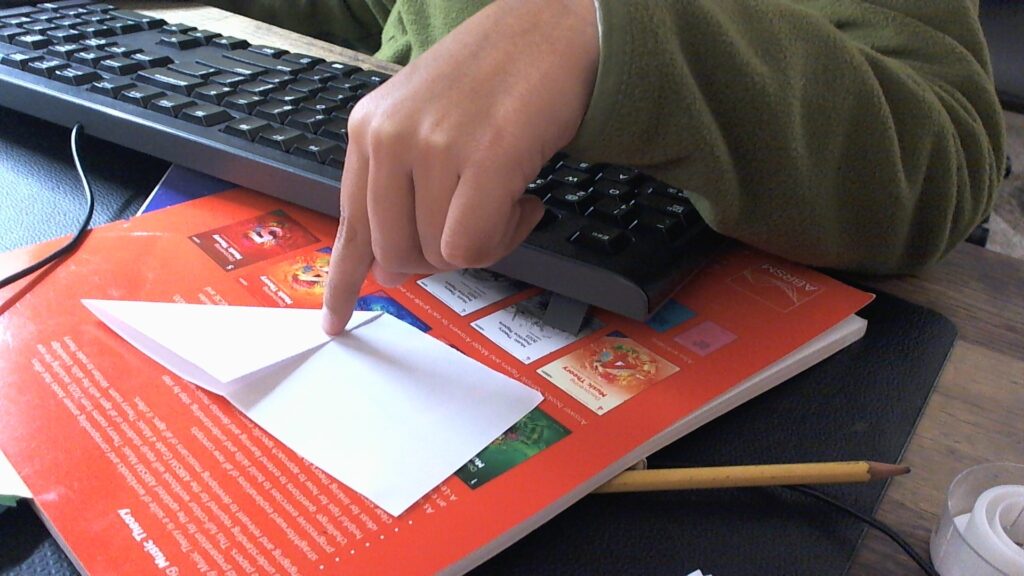
Then flip your paper over and fold one corner down so that the edge meets the crease line, like so:
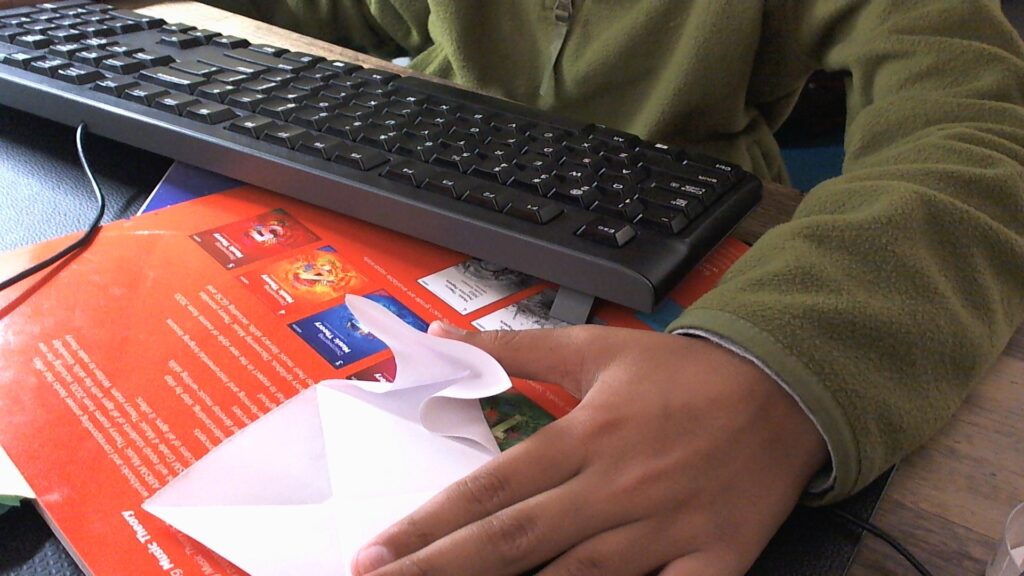
Then unfold. Repeat for all 4 corners.
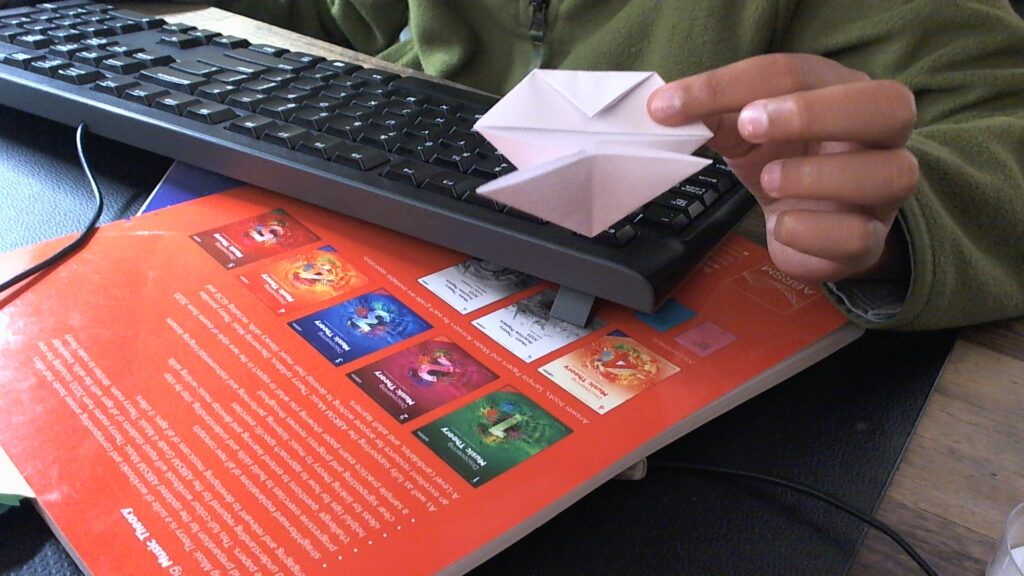
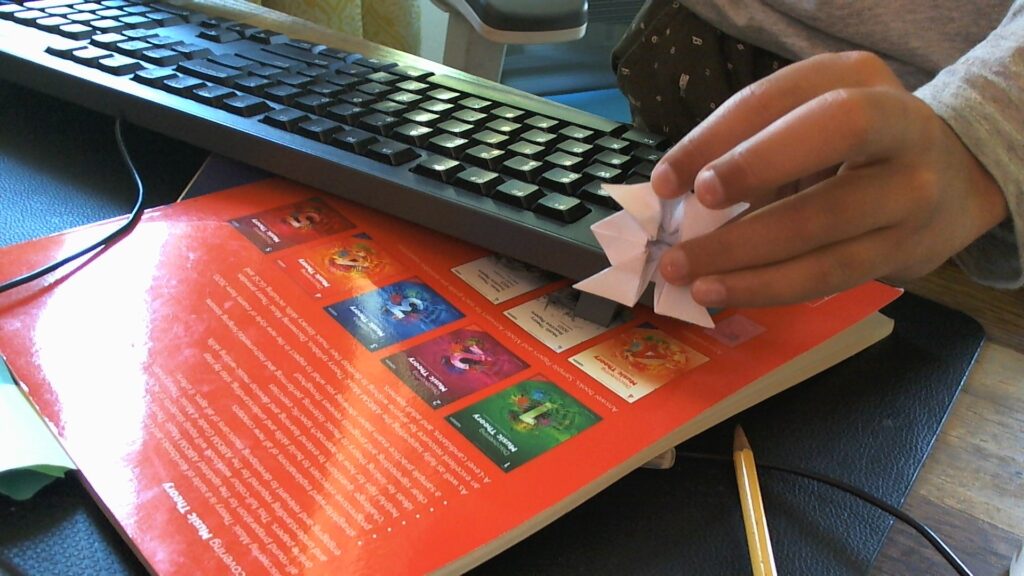
Now pinch in the sides and start squashing the model…
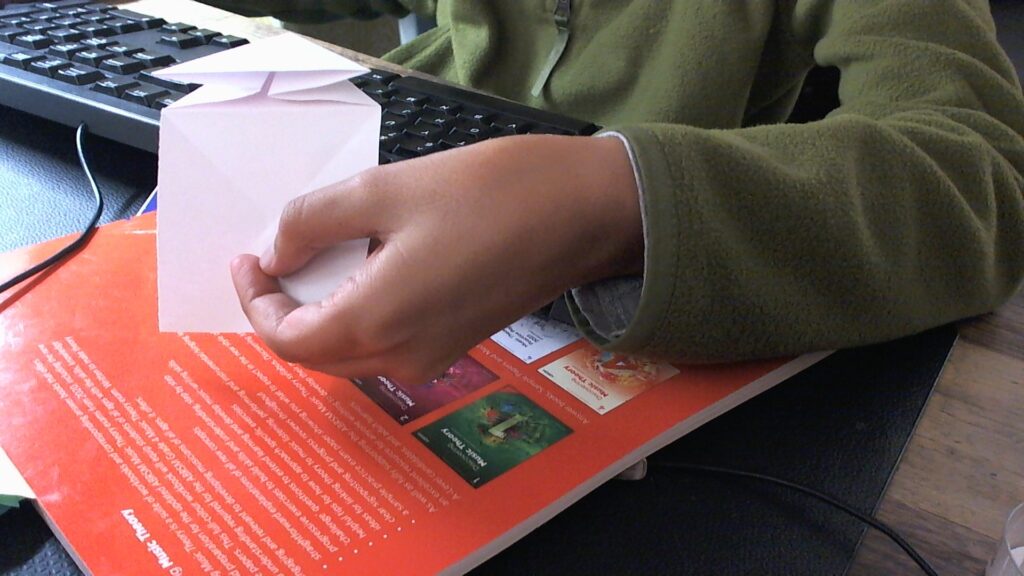
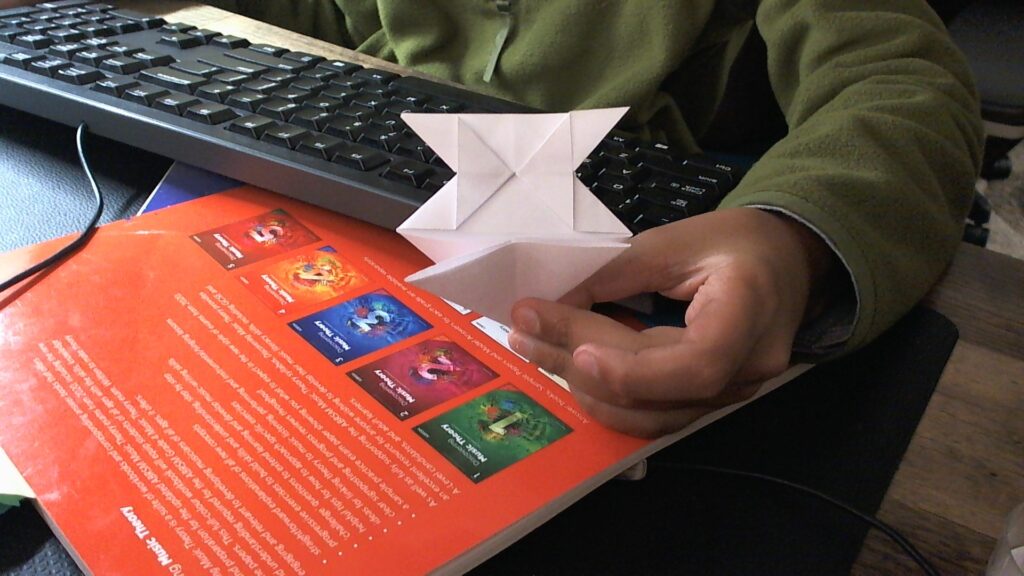
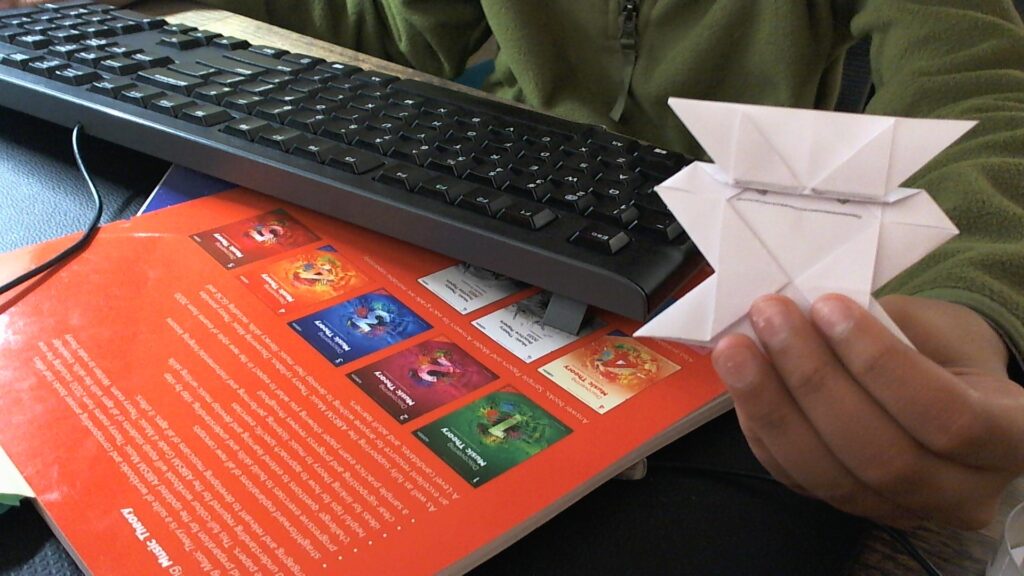
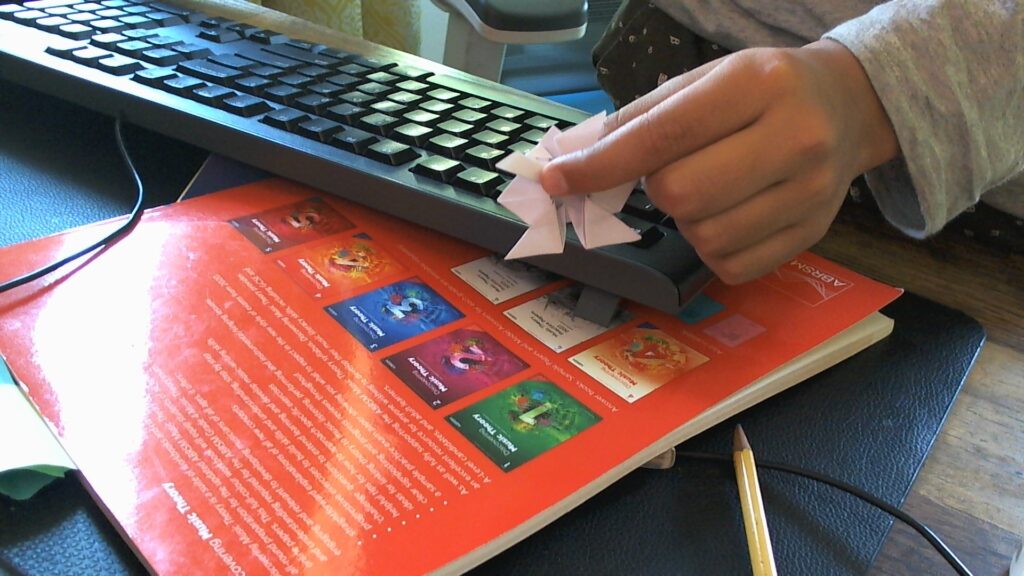
Complete the squash. It should look like this.
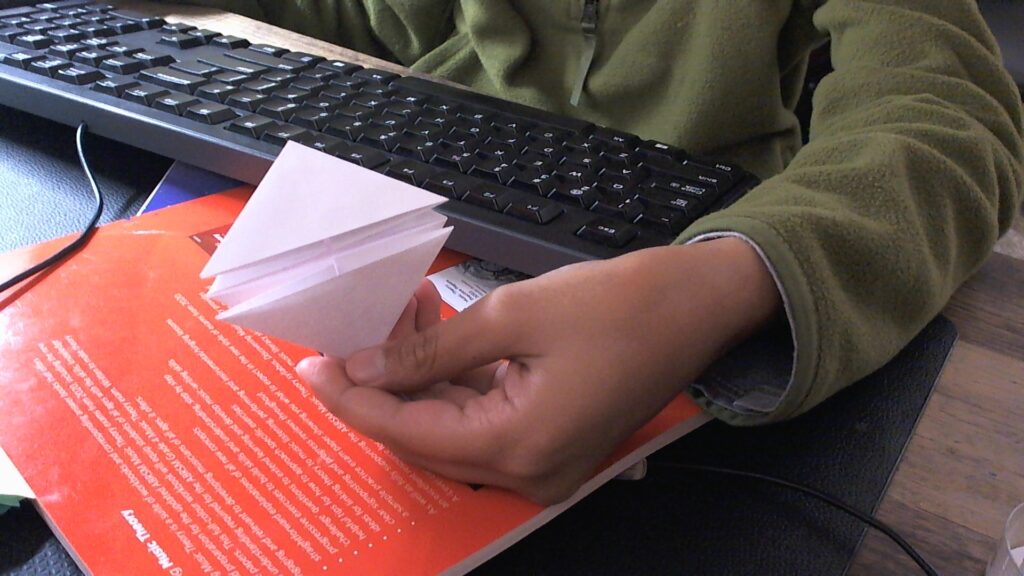
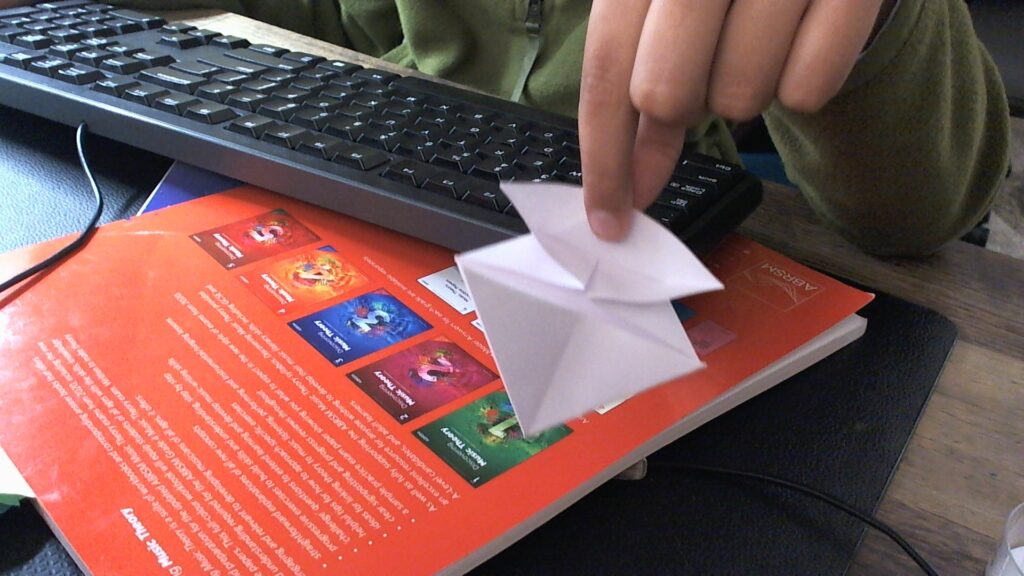
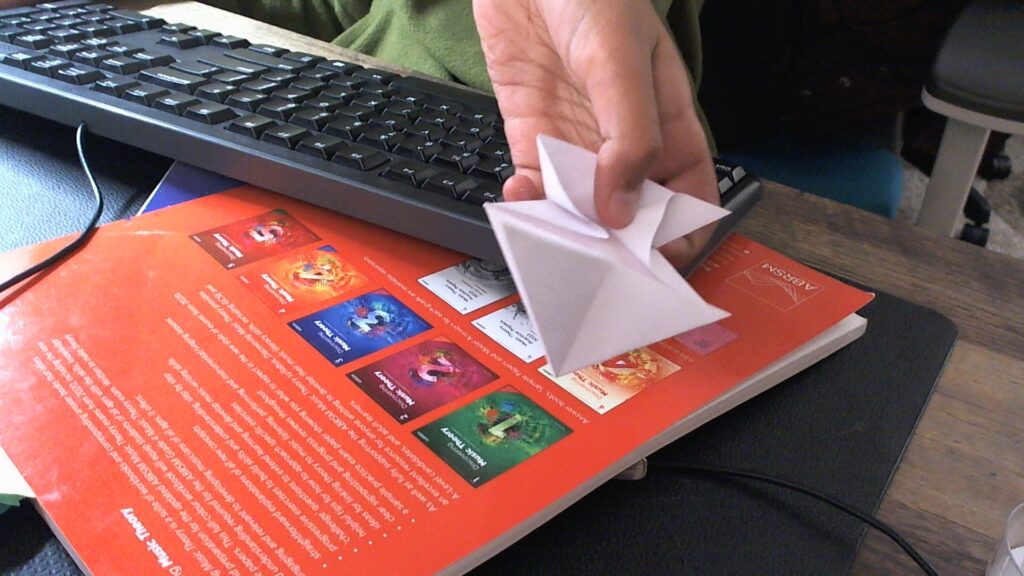
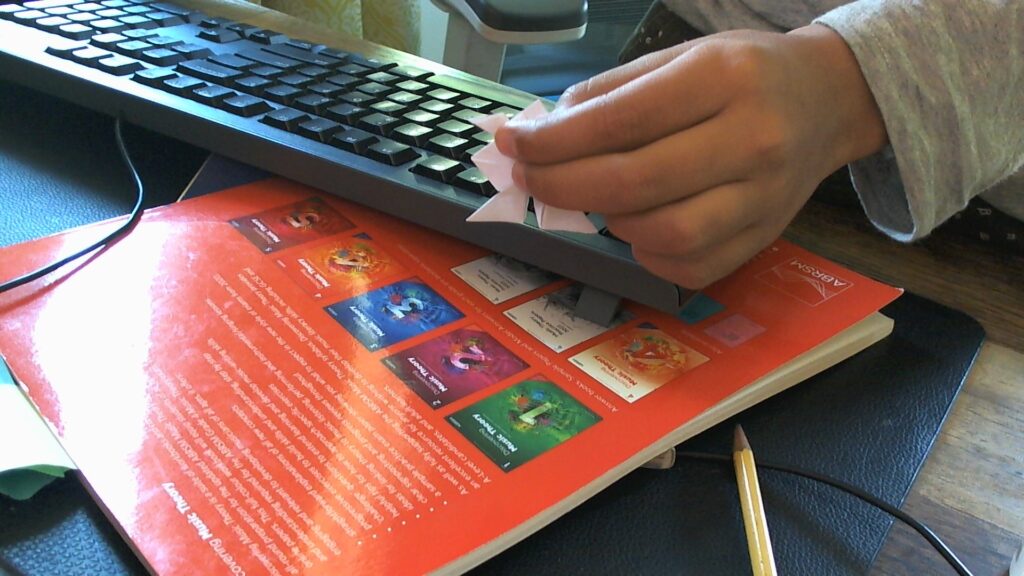
Repeat for the other side of the paper. It should look like a diamond.
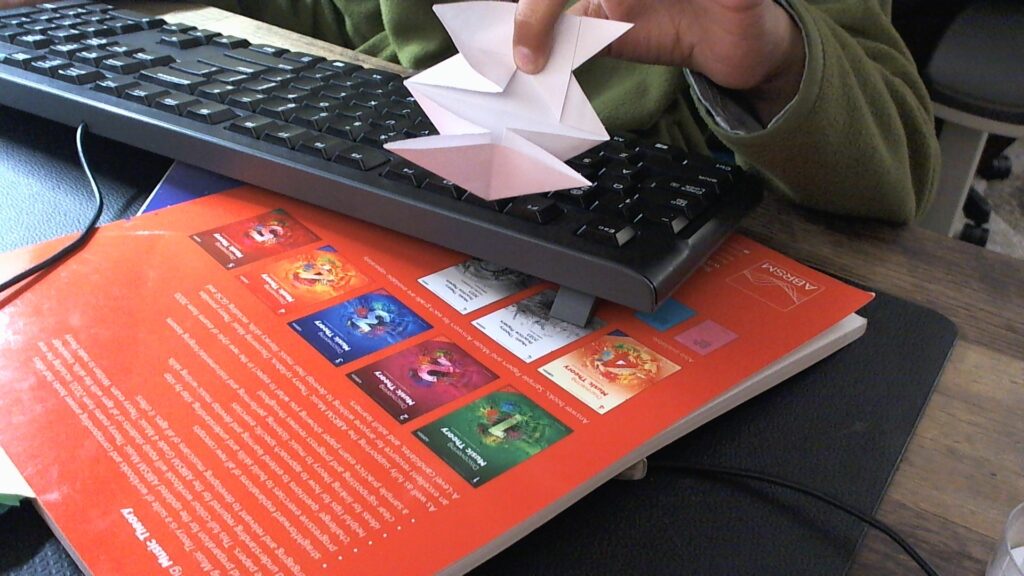
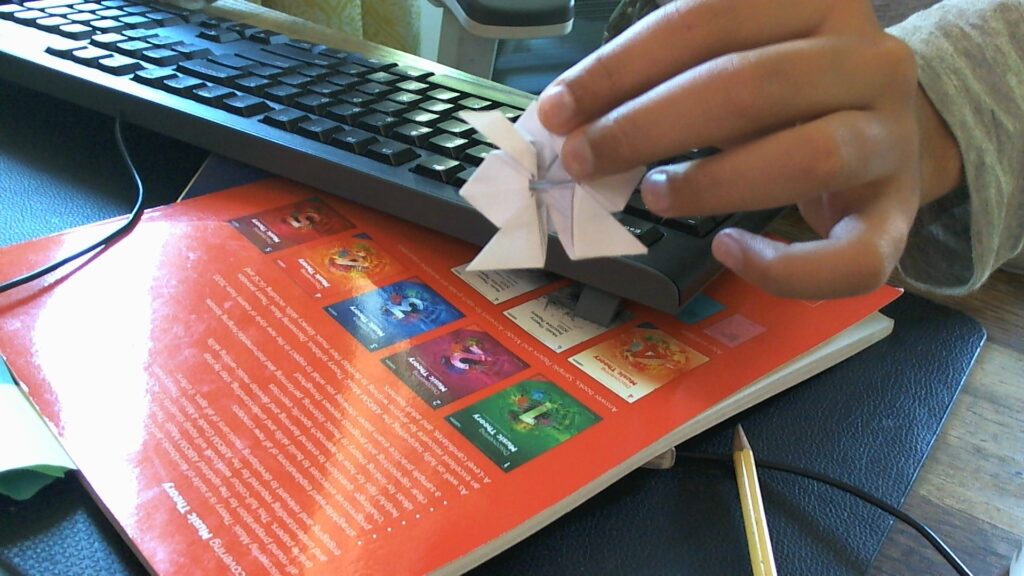
Now we will begin folding the front legs. Fold the top corner of the diamond toward the center – fold the model in half first!
Then fold the top flap of the model up along the crease line, bringing it to the corner you just formed.
Now take one of the two flaps you see sticking up. Squash it down.
Repeat for the other flap.
You’ve completed forming the front legs. Now repeat for the back.
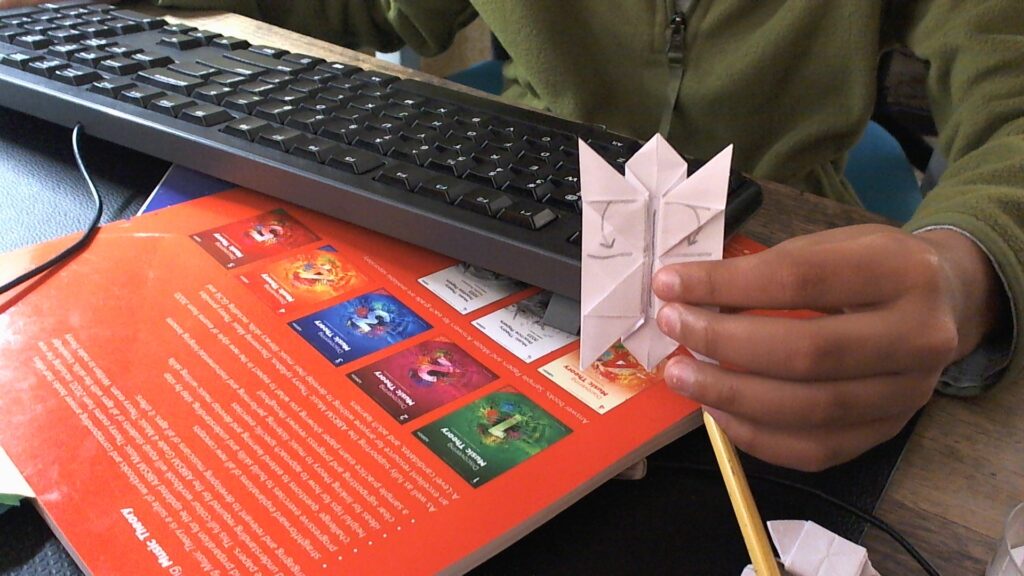
Now we will form a pleat. At the end, the two marked lines will be right on top of each other.
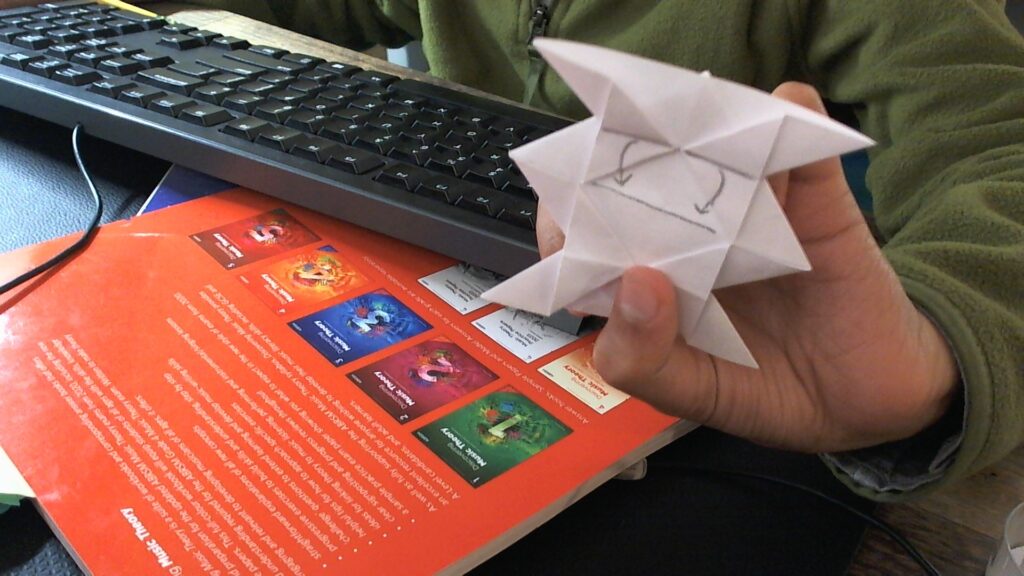
Fold as shown.
Now fold as shown.
Now repeat on the other side.
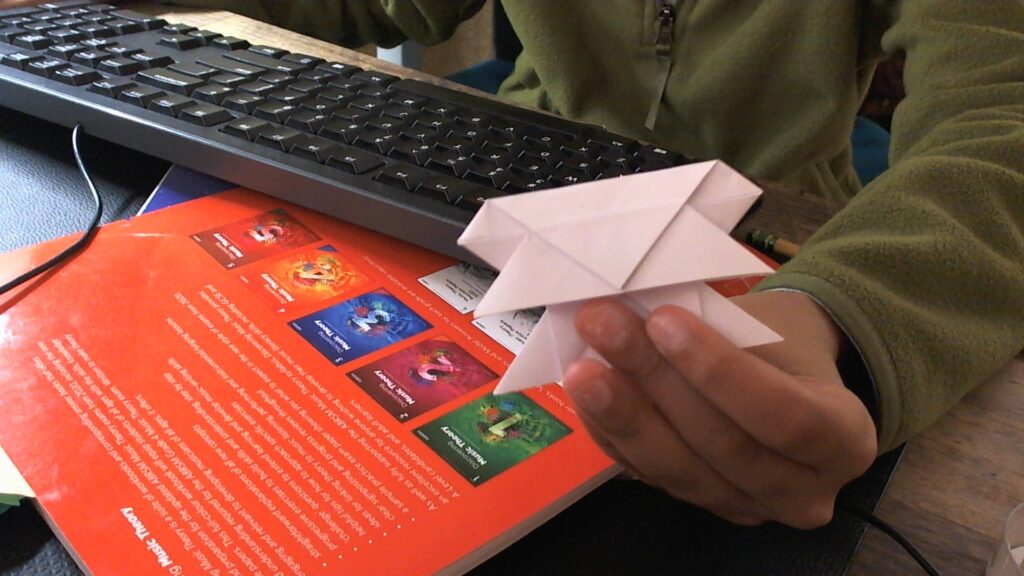
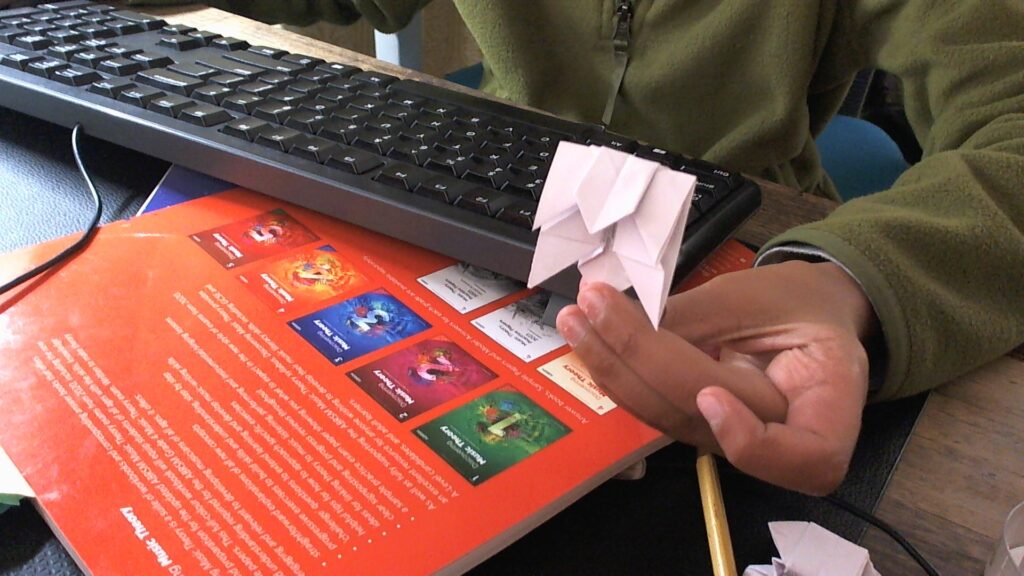
Turn 90 degrees. We will make another pleat, this time from the side of the model.
Fold as shown.
Now fold back.
Repeat on the other side.
Turn 90 degrees and flip over. Tuck your thumb in the space between the protruding triangle and the rectangle below it, as shown.

Now begin pushing down on the rectangle and tucking it in.
Complete tucking it in.

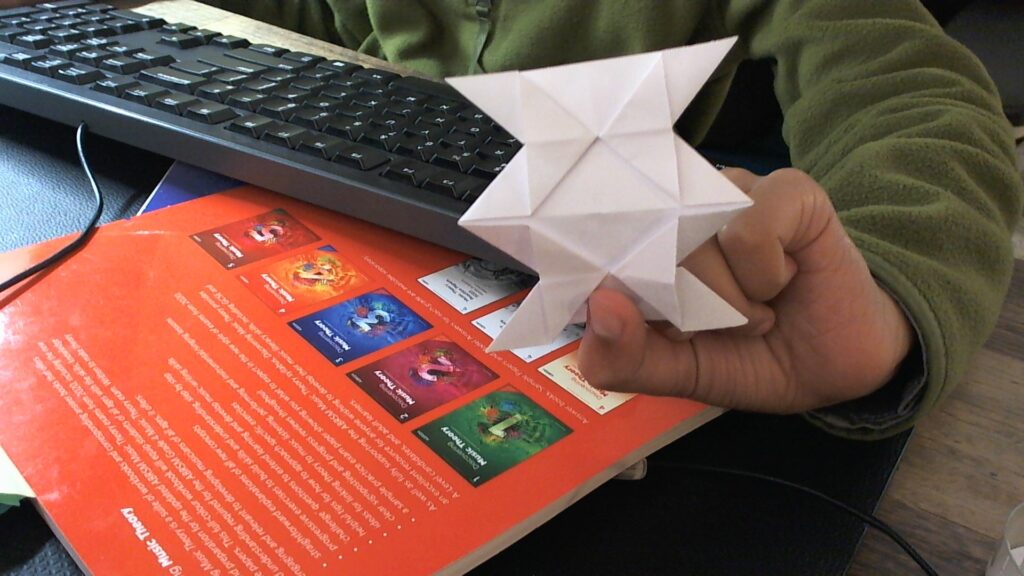
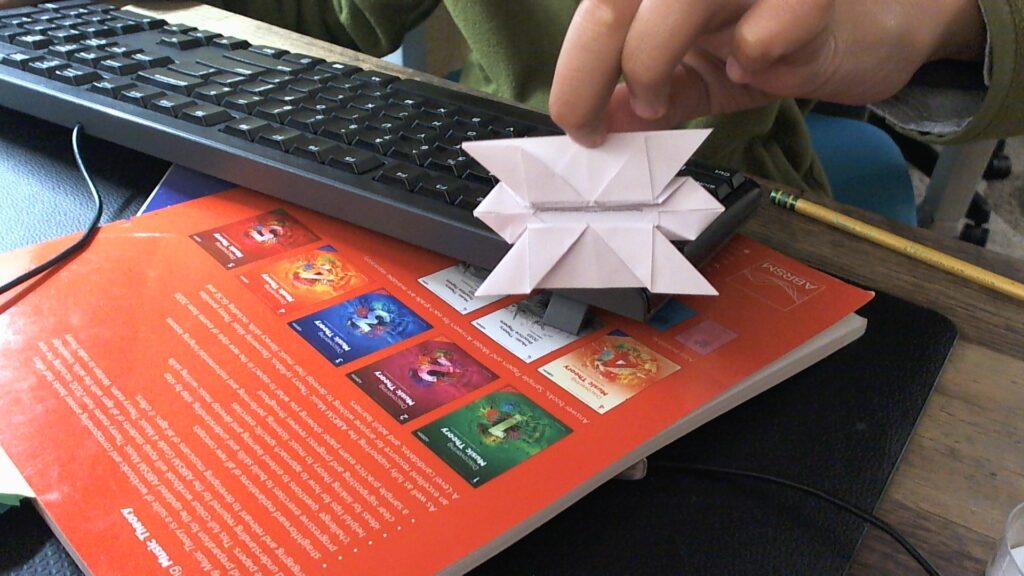
Repeat on the other side. It should look like the following image.
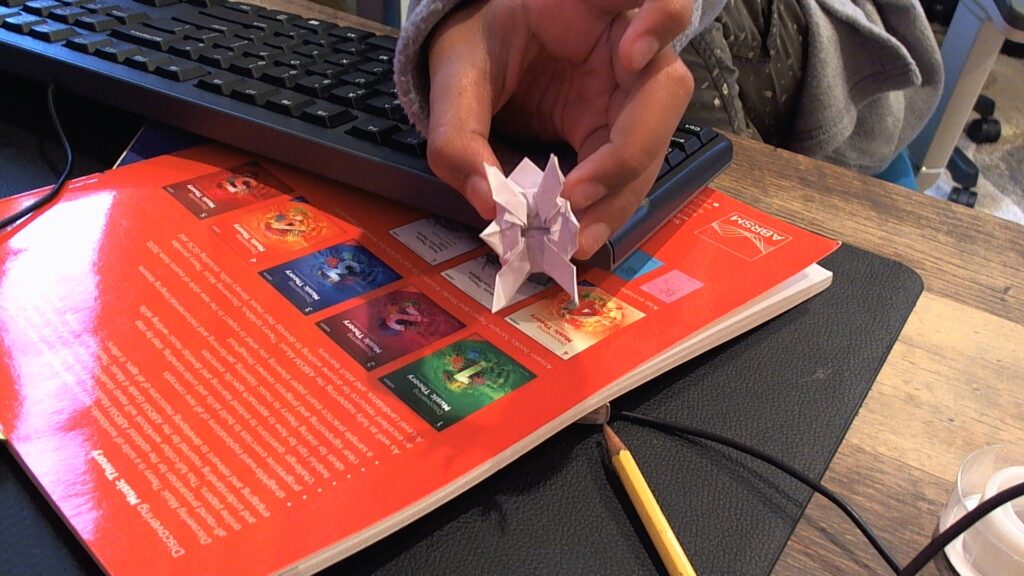
Now we’re going to shape the legs, starting with the four outer legs. Push at the right-angle corner of one of the legs.
Now flatten the leg back into place, such that the corner is tucked in the leg.
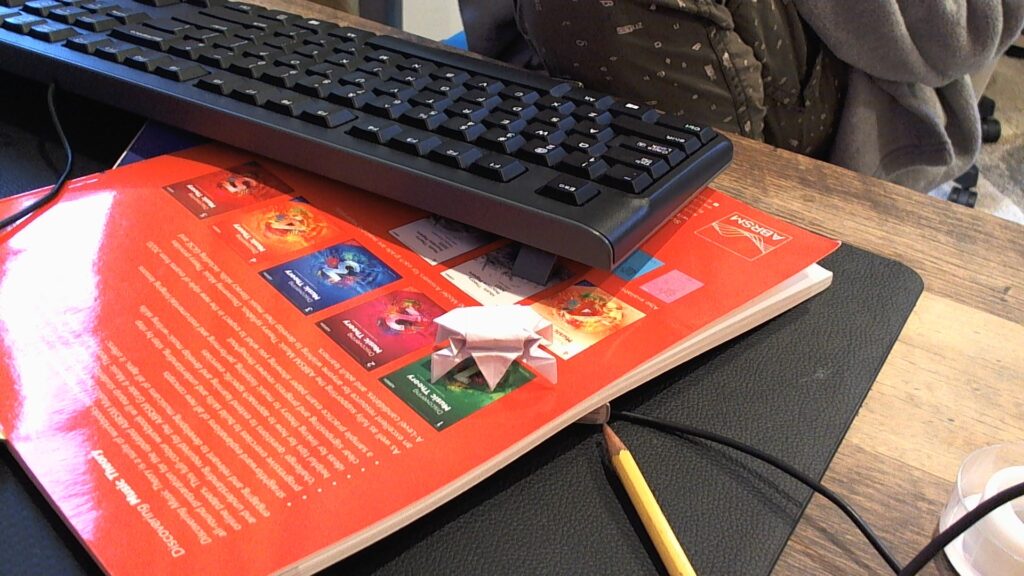
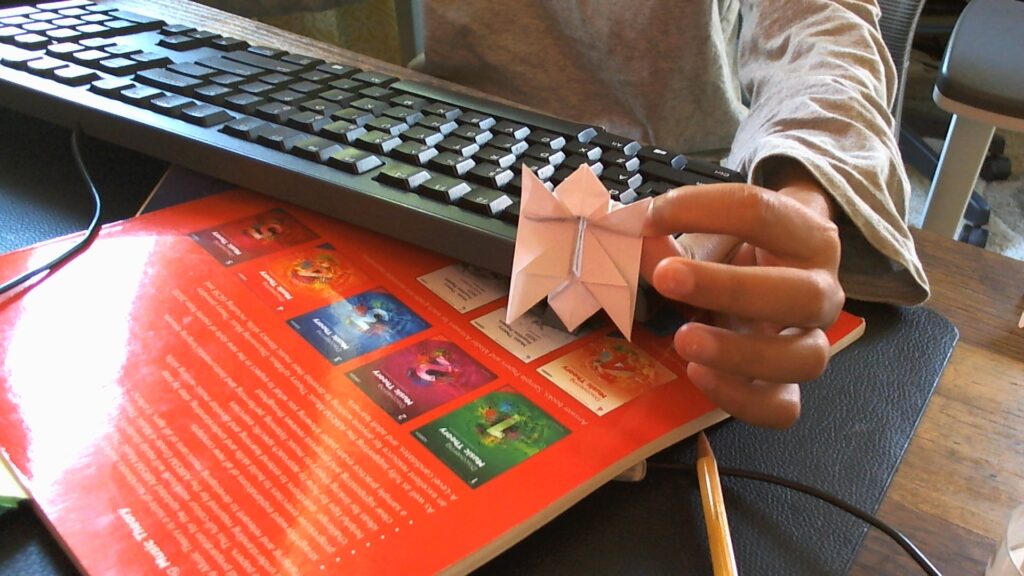
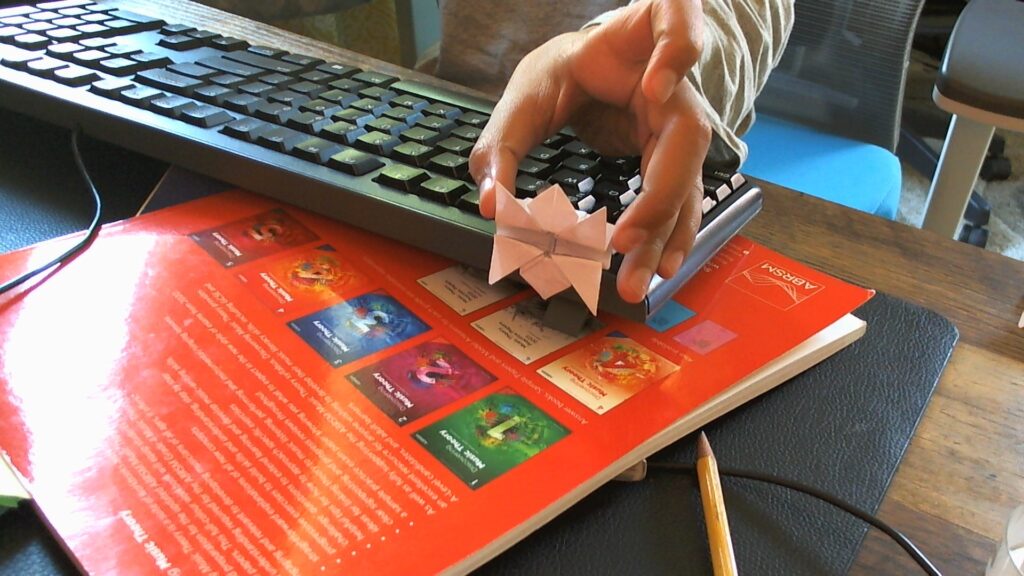
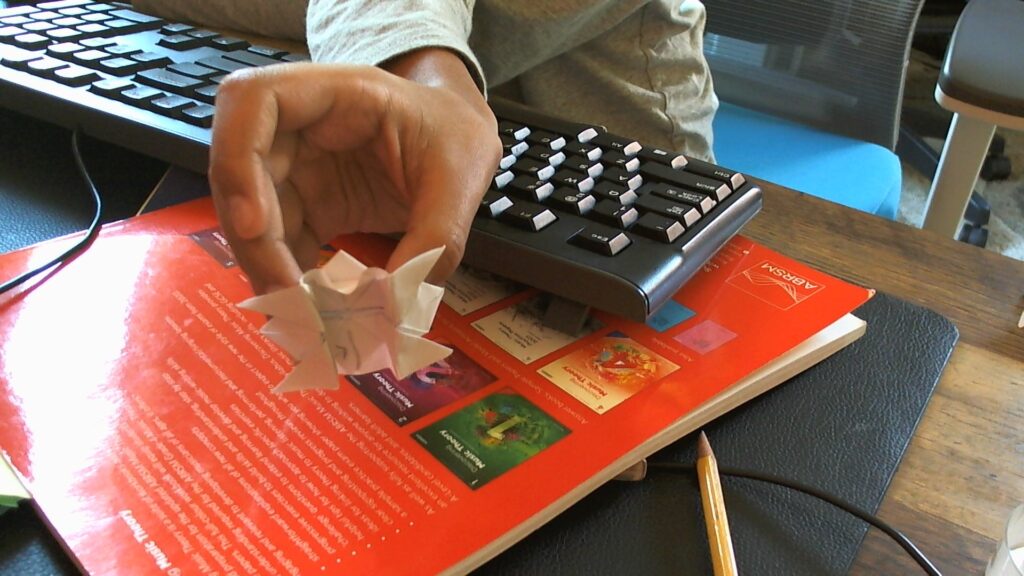
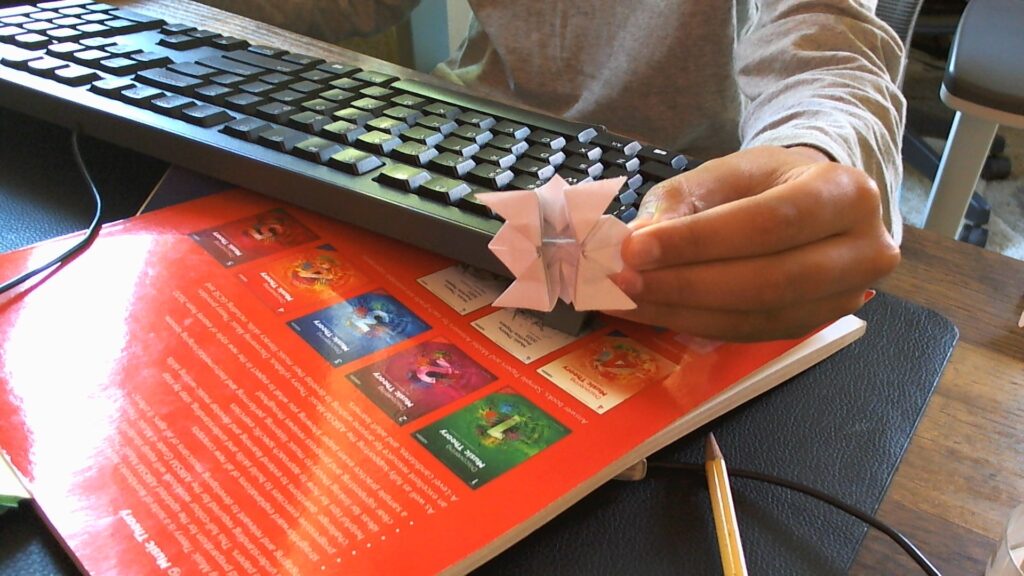
Repeat for all four legs. For the middle legs, fold back the 45-degree corners as shown in the image. Your beetle should look like this:
Now for the last step: Pick one of the short triangles to be the head of the beetle. Then, fold the other triangle under the beetle. Lastly, fold down the legs to help the beetle stand on them. Now your beetle is done!